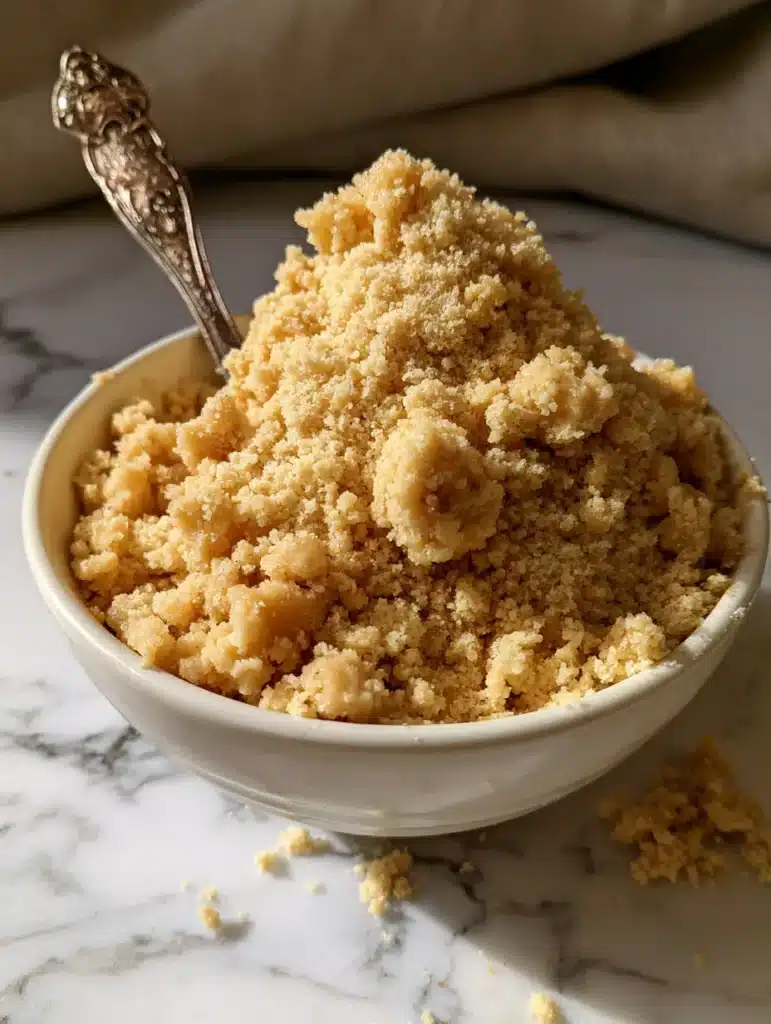
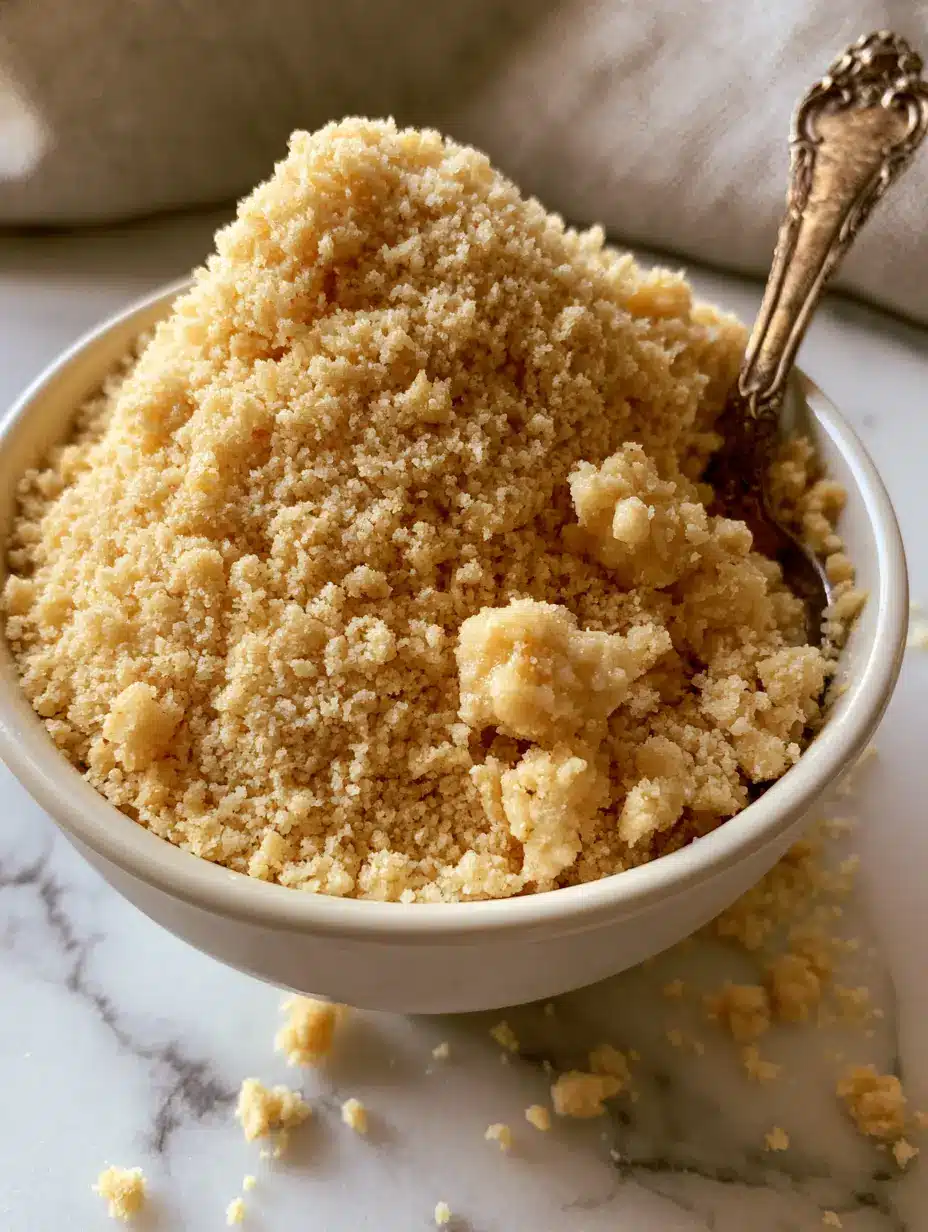
Every home baker knows that the difference between a good dessert and a show-stopping masterpiece lies in the texture. This Crumble Topping Recipe is designed to provide that elusive contrast: a high-piled mound of pale-gold sandy particles mixed with irregular, pea-sized chunky clusters.
Imagine a white ceramic bowl overflowing with raw, buttery goodness, catchings the soft natural daylight on a marble surface. This isn’t just a recipe; it is a foundational culinary blueprint for achieving professional-grade streusel every single time.
Whether you are layering this on top of a seasonal fruit pie or using it to add crunch to your favorite muffins, the visual appeal of these golden-beige crumbs is unmatched. Let’s dive into the science of fat and flour to create the perfect topping.
The Visual Allure of Professional-Grade Crumble Clusters
- Textural Contrast: A precise balance of fine, sandy flour-sugar particles and large, irregular buttery boulders.
- Pale-Gold Hue: Achieving a uniform golden-beige mixture that looks as good raw in a bowl as it does baked and bubbling.
- Versatile Application: Perfect for pairing with everything from a tart Italian lemon jam (coming soon) to decadent morning pastries.
- Buttery Richness: A high fat-to-dry-ingredient ratio that ensures the crumble melts on the tongue while maintaining a distinct crunch.
The Scientific Foundation of Your Golden-Beige Streusel
To achieve the specific “pea-sized chunky clusters” described in our visual blueprint, we must understand the role of each ingredient. This recipe avoids the common mistake of over-mixing, which leads to a leaden, cookie-like crust rather than a light crumble.
All-Purpose Flour: 1 ½ cups (188g)
The scaffolding of your crumble. It provides the structure necessary to hold the butter in suspended clusters without dissolving into a greasy pool.
Granulated White Sugar: ½ cup (100g)
White sugar provides the “sandy” texture mentioned in our visual prompt. It helps create those fine, crystalline particles that glisten under natural light.
Light Brown Sugar (Packed): ½ cup (100g)
The molasses content in brown sugar is what gives our Crumble Topping Recipe its signature golden-beige color. It also adds a hint of moisture for cluster formation.
Unsalted Butter (Cold, Cubed): ¾ cup (170g)
This is the most critical component. It must be stone-cold to ensure it forms “irregular, pea-sized chunks” rather than a smooth paste.
Fine Sea Salt: ½ tsp (3g)
The “invisible” ingredient that cuts through the sugar. It heightens the buttery notes and ensures the topping isn’t cloyingly sweet.
Ground Cinnamon: 1 tsp (2g)
Optional but recommended for visual depth. It adds microscopic dark flecks to the sandy mix, enhancing the “handheld smartphone photo” aesthetic of a rustic kitchen.
Essential Tools for Achieving High-Piled Texture
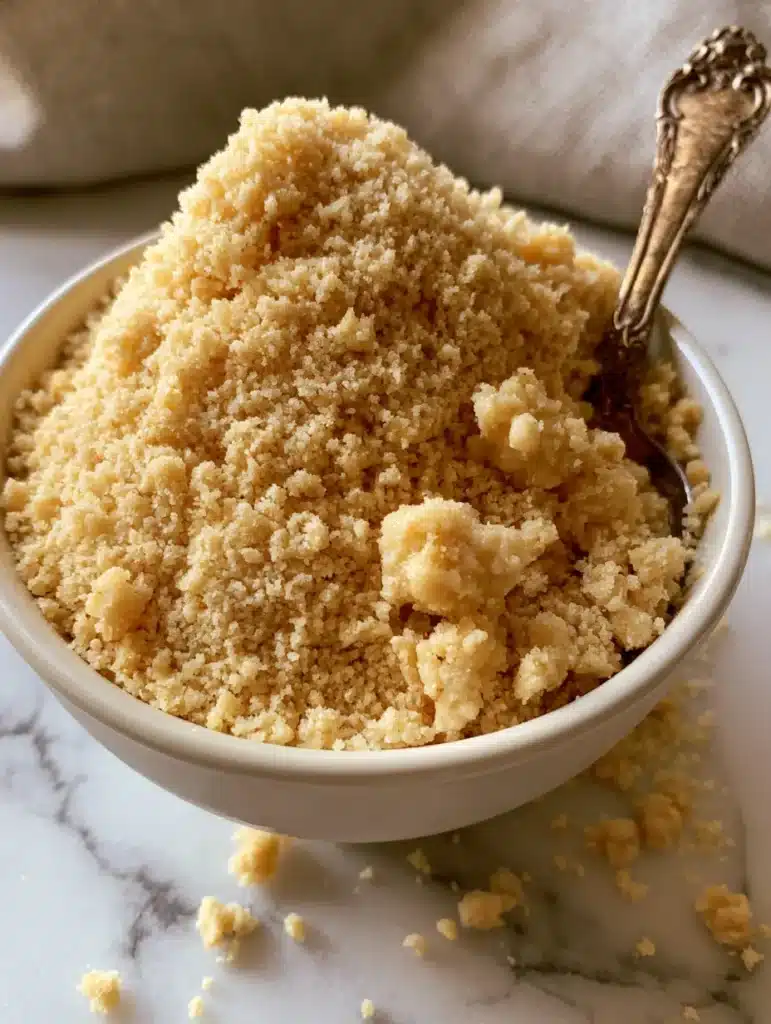
To recreate the scene of a vintage silver spoon resting in a white ceramic bowl, you need the right tools for the job. Precision in handling cold fats is paramount.
First, a large glass or ceramic mixing bowl is necessary to keep the ingredients cool. Avoid plastic bowls, as they can retain ambient heat and soften your butter too quickly.
A pastry cutter (or pastry blender) is the secret weapon for creating clusters. If you don’t have one, two table knives or even your fingertips will work, provided you work quickly to prevent the butter from melting.
Finally, a digital kitchen scale is highly recommended. Measuring flour by volume is notorious for inconsistency, which can ruin the ratio of sandy particles to buttery chunks.
Step-by-Step Architecture for the Perfect Crumble Topping Recipe
Phase 1: Preparing the Dry Sandy Base
Begin by whisking together the 1 ½ cups (188g) of all-purpose flour, ½ cup (100g) of granulated sugar, and ½ cup (100g) of light brown sugar in your white ceramic bowl. Ensure there are no large lumps of brown sugar remaining.
Add the ½ tsp (3g) of sea salt and optional cinnamon. Whisk vigorously until the mixture looks like a uniform, fine-grained sand. This provides the base for the larger clusters to nestle into.
Phase 2: Cutting in the Cold Butter
Distribute the ¾ cup (170g) of cold, cubed butter over the surface of the flour mixture. Using a pastry cutter, press down into the butter, “cutting” it into the dry ingredients.
Continue this motion until the largest pieces of butter are no bigger than a pea. You are looking for a visual cue where the flour is no longer stark white but has taken on a pale-gold, damp appearance.
Phase 3: Hand-Forming the Signature Clusters
To achieve the “irregular, pea-sized chunky clusters” seen in the visual prompt, put down the tools and use your hands. Gently squeeze a handful of the mixture together, then break it apart with your thumbs.
Toss the mixture lightly to distribute the clusters among the finer particles. The final result should be a high-piled mound of varying textures that looks beautiful even before it hits the oven.
Expert Tips for Crumble Success
- The Temperature Rule: If your kitchen is warm, place the bowl in the refrigerator for 10 minutes before baking. Cold butter equals better clusters.
- Avoid Overworking: Stop mixing as soon as you see the clusters form. Over-mixing will turn your crumble into a dough, losing the “sandy” particles.
- Scaling the Recipe: This recipe is easily doubled. If you find yourself making a large batch of raspberry coconut magic bars, keep the same ratios for consistent crunch.
- Visual Check: Look for the “golden-beige” color. If it looks too white, you need more butter; if it looks oily, you need a touch more flour.
Creative Pairings for Your Buttery Streusel
The beauty of this Crumble Topping Recipe is its versatility. While it shines on fruit crisps, it can also elevate more complex desserts.
Try sprinkling a thick layer of this crumble over a German chocolate poke cake (coming soon) for a surprising texture contrast. The crunch of the clusters pairs beautifully with the soft, soaked sponge.
For a sophisticated breakfast, use this topping on creme brulee french toast (coming soon). The buttery saltiness of the crumble balances the rich custard perfectly.
You can even use a lightly toasted version of this crumble as a garnish for a savory-sweet dish like hot honey roasted carrots to add a gourmet textural element.
Storage and Make-Ahead Instructions
One of the best things about this recipe is its shelf life. You can prepare the raw crumble and store it in an airtight container in the refrigerator for up to 5 days.
For longer storage, this Crumble Topping Recipe freezes beautifully. Place the raw mixture in a freezer-safe bag and keep it for up to 3 months. There is no need to thaw it before use; simply sprinkle the frozen clusters directly onto your dish.
If you have leftover baked crumble, store it at room temperature in a dry place. To regain the crispness, a quick 5-minute toast in a 350°F (175°C) oven will revive the buttery snap.
Frequently Asked Questions
Yes! You can store the raw mixture in an airtight container in the refrigerator for up to 5 days, or freeze it for up to 3 months. Baking it directly from cold or frozen helps the clusters maintain their shape.
While this specific version is sweet, you can adapt it by removing the sugars and cinnamon and replacing them with grated parmesan cheese and dried herbs for a savory ‘crumble’ effect on vegetables or gratins.
Avoid over-crowding the topping; a thinner layer allows more airflow. Additionally, ensure your fruit base underneath isn’t too watery, as the steam can soften the crumble from below.
Always use cold, cubed butter. Cold butter creates the distinct, pea-sized clusters and ‘sandy’ texture required for a traditional crumble. Melted butter results in a heavier, greasy topping that resembles a cookie dough rather than a light streusel.
This usually happens if the butter is too cold and not worked into the flour enough, or if there isn’t enough fat. Try squeezing the mixture gently with your hands to help the clusters bond, or add an extra tablespoon of butter.
Mastering the Ultimate Crumble Topping Recipe
Crumble Topping Recipe: The Ultimate Guide to Buttery Streusel Clusters
Ingredients
Equipment
Instructions
- In a white ceramic bowl, whisk together the flour, granulated sugar, brown sugar, and salt until it resembles fine, uniform sand.
- Add cold, cubed butter. Use a pastry cutter to incorporate until the mixture forms irregular, pea-sized chunks and clusters.
- Gently squeeze small handfuls of the mixture to create larger clusters, tossing lightly to maintain a mix of textures.
Notes
Store raw in the freezer for up to 3 months for an easy dessert topping anytime.
The Final Flourish for Your Home Baking
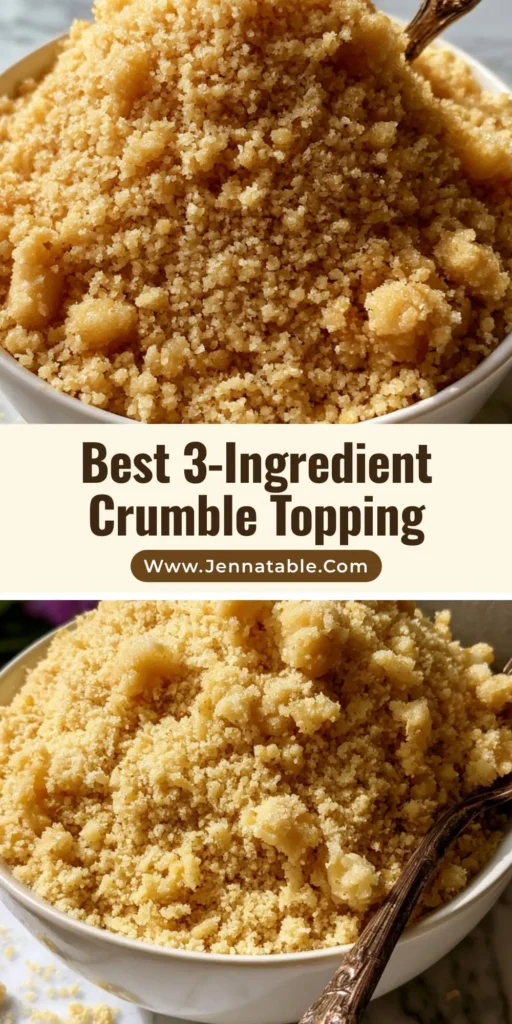
By following this guide, you have mastered the art of the perfect buttery cluster. This recipe provides the ideal “crunch” factor that distinguishes amateur baking from professional pastry work. The visual contrast of fine sand and chunky clusters will make every dish a centerpiece.
We invite you to share your results! Did you achieve that perfect golden-beige hue? Leave a comment below and let us know what you topped with your crumble. Don’t forget to follow and share this recipe to Pinterest so you never lose your new favorite baking secret.