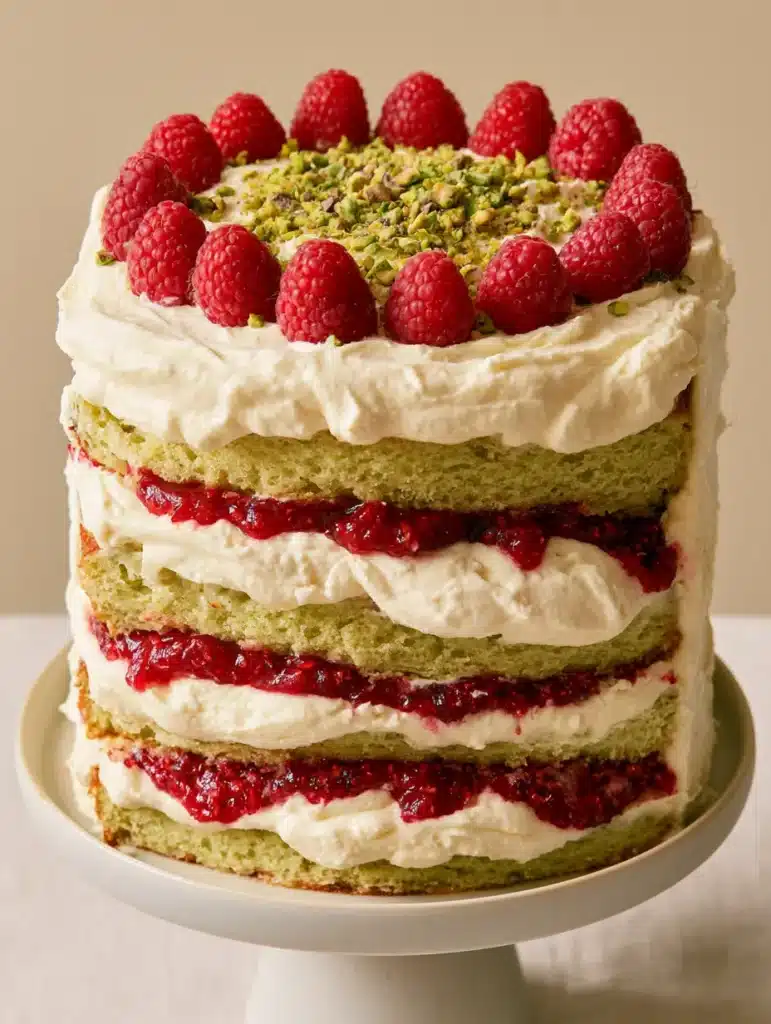
There is something undeniably sophisticated about the pairing of earthy, toasted nuts and tart, vibrant berries. This Pistachio Raspberry Layer Cake isn’t just a dessert; it is a visual masterpiece featuring four towering layers of light-green sponge, thick ribbons of fruit, and a cloud-like finish. Inspired by the rustic elegance of professional patisseries, this recipe delivers a moist, tender crumb that perfectly complements the bright acidity of a homemade raspberry jam.
What sets this particular Pistachio Raspberry Layer Cake apart is the intentional contrast in textures. Every bite offers a sequence of sensations: the velvet-smooth whipped cream, the slight crunch of crushed pistachios, and the explosive pop of fresh raspberries. It is designed to be the crowning jewel of your next celebration, standing tall on a minimalist pedestal and demanding a second slice.
Why This Towering Pistachio and Berry Creation Works
- The Four-Layer Architecture: By slicing two thick sponges into four thin layers, we maximize the surface area for the jam and frosting, ensuring every bite is perfectly balanced.
- Vibrant Natural Color: We use finely ground pistachios to achieve that signature “light-green” hue in the sponge without relying on artificial dyes.
- Thick Jam Consistency: This isn’t a runny syrup; our filling is a concentrated raspberry reduction that stays put between the layers.
- Stabilized Whipped Frosting: Unlike standard whipped cream that wilts, our frosting is engineered to be thick and smooth, encasing the cake with professional precision.
Essential Components for a Vibrant Pistachio Sponge
Roasted Unsalted Pistachios: These provide the foundational flavor and the beautiful light-green color of the sponge. We grind them into a fine meal to ensure a moist, tight crumb that holds up during assembly.
Cake Flour: A lower protein content is vital for that delicate “melt-in-your-mouth” texture. It allows the cake to remain light despite the density of the ground nuts.
Full-Fat Sour Cream: This is our “secret” moisture agent. The acidity tenderizes the gluten, ensuring your layers stay moist for days after baking.
Unsalted Butter and Neutral Oil: We use a blend of both; butter provides the rich flavor profile, while oil ensures the cake stays soft even when chilled.
Fresh Red Raspberries: Used both for the cooked jam filling and the fresh border on top. If you love these berries, you might also enjoy my raspberry cheesecake danish.
Tools Required for Professional Cake Assembly
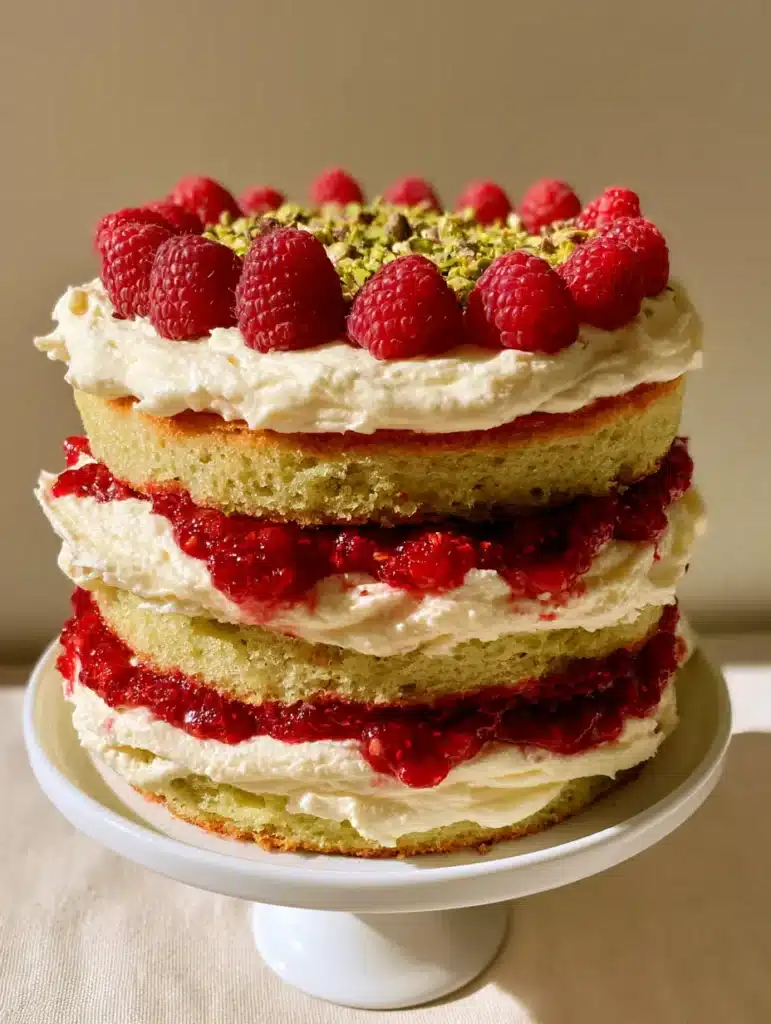
To achieve the “tall four-layer” look described in our visual blueprint, you will need two 8-inch (20cm) round cake pans with high sides. A serrated bread knife is essential for leveling the sponges and splitting them into four even discs. For the frosting, a rotating cake turntable and an offset spatula will help you achieve that smooth, thick white finish. Finally, a food processor is required to turn whole pistachios into the fine dust needed for the batter and the decorative center dusting.
Step-by-Step Guide to the Perfect Layer Cake
Crafting the Moist Pistachio Sponge
Preheat your oven to 350°F (175°C) and grease your pans thoroughly. Begin by pulsing your pistachios in a food processor until they resemble a fine sand—be careful not to over-process into nut butter! Cream together 1 cup (225g) of unsalted butter and 1.5 cups (300g) of sugar until the mixture is pale and aerated, which usually takes about 3-4 minutes on medium-high speed.
Incorporate 3 large eggs one at a time, followed by 1 tsp (5ml) of almond extract to enhance the nutty notes. Alternately fold in your dry ingredients (flour, ground pistachios, leavening) and the sour cream. Divide the batter evenly between the two pans and bake until a toothpick comes out clean. Look for the visual cue of the cake slightly pulling away from the edges of the pan.
Reducing the Bright Red Raspberry Jam
While the cakes cool, combine 3 cups (375g) of fresh raspberries with 0.5 cups (100g) of sugar and a splash of lemon juice in a saucepan. Simmer over medium heat, mashing the berries until the mixture thickens into a spreadable jam. This thick consistency is crucial so the filling doesn’t leak out of the cake. If you enjoy making fruit-forward fillings, check out my recipe for Italian lemon jam (coming soon).
Whipping the Smooth Cream Frosting
In a chilled bowl, beat 3 cups (720ml) of heavy whipping cream with 0.5 cups (60g) of powdered sugar and 1 tsp (5ml) of vanilla. Whisk until stiff peaks form. The “sensory cue” here is the cream holding its shape firmly on the whisk without drooping. This frosting needs to be thick enough to act as a structural wall for the four layers.
Assembling the Four-Layer Masterpiece
Once cooled, slice each cake horizontally to create four layers. Place the first layer on your minimalist pedestal. Pipe a ring of frosting around the edge to act as a “dam,” then fill the center with a thick spread of raspberry jam and a thin layer of whipped cream. Repeat this for all layers. Once the top layer is on, encase the entire cake in a smooth, thick coat of the remaining frosting. If you prefer a more rustic texture, you can adapt the technique from my crumble topping guide.
Expert Tips for Cake Success
- Room Temperature Ingredients: Ensure your eggs and sour cream are at room temp to prevent the batter from curdling, which results in a denser cake.
- The “Crumb Coat” Secret: Apply a very thin layer of frosting first and chill the cake for 20 minutes. This traps crumbs so your final thick white layer is pristine.
- Stabilize Your Cream: If you are serving this in a warm environment, add 2 tbsp (15g) of instant pudding mix to the cream while whipping for extra stability.
- Freshness Matters: Only add the whole red raspberry border and the pistachio center dusting right before serving to keep them looking vibrant.
Storage and Make-Ahead Advice
This Pistachio Raspberry Layer Cake is best stored in the refrigerator due to the fresh whipped cream and fruit filling. It will stay moist and delicious for up to 3 days when covered. If you need to make it ahead of time, you can bake the sponges and freeze them (wrapped in plastic) for up to a month, then thaw and assemble on the day of your event. For those who enjoy nutty desserts that keep well, my peanut butter cake is another fantastic option.
What to Serve with This Elegant Dessert
This cake is a rich, sweet finale that pairs beautifully with a light, savory meal. Consider starting your evening with creamy shrimp bisque or a vibrant power bowl to balance the indulgence of the cake. For a casual brunch setting, this cake serves as a stunning centerpiece alongside creme brulee French toast (coming soon).
Frequently Asked Questions
Absolutely. Frozen raspberries work perfectly for the cooked jam component, but use fresh berries for the top garnish to ensure they don’t weep moisture onto the frosting.
Yes, but reduce the butter by 2 tablespoons to account for the oil in the paste. Ground pistachios are preferred for the specific ‘light-green’ visual texture in this recipe.
Always pipe a ‘dam’ or border of stiff whipped cream frosting around the edge of the cake layer before filling the center with jam.
You can make your own by removing 2 tablespoons of all-purpose flour from a 1-cup measurement and replacing it with 2 tablespoons of cornstarch, sifted together.
Your heavy cream or bowl might not have been cold enough. For a cake this tall, ensure you whisk until very stiff peaks form, or add a stabilizer like mascarpone or gelatin.
The Ultimate Pistachio Raspberry Layer Cake Recipe
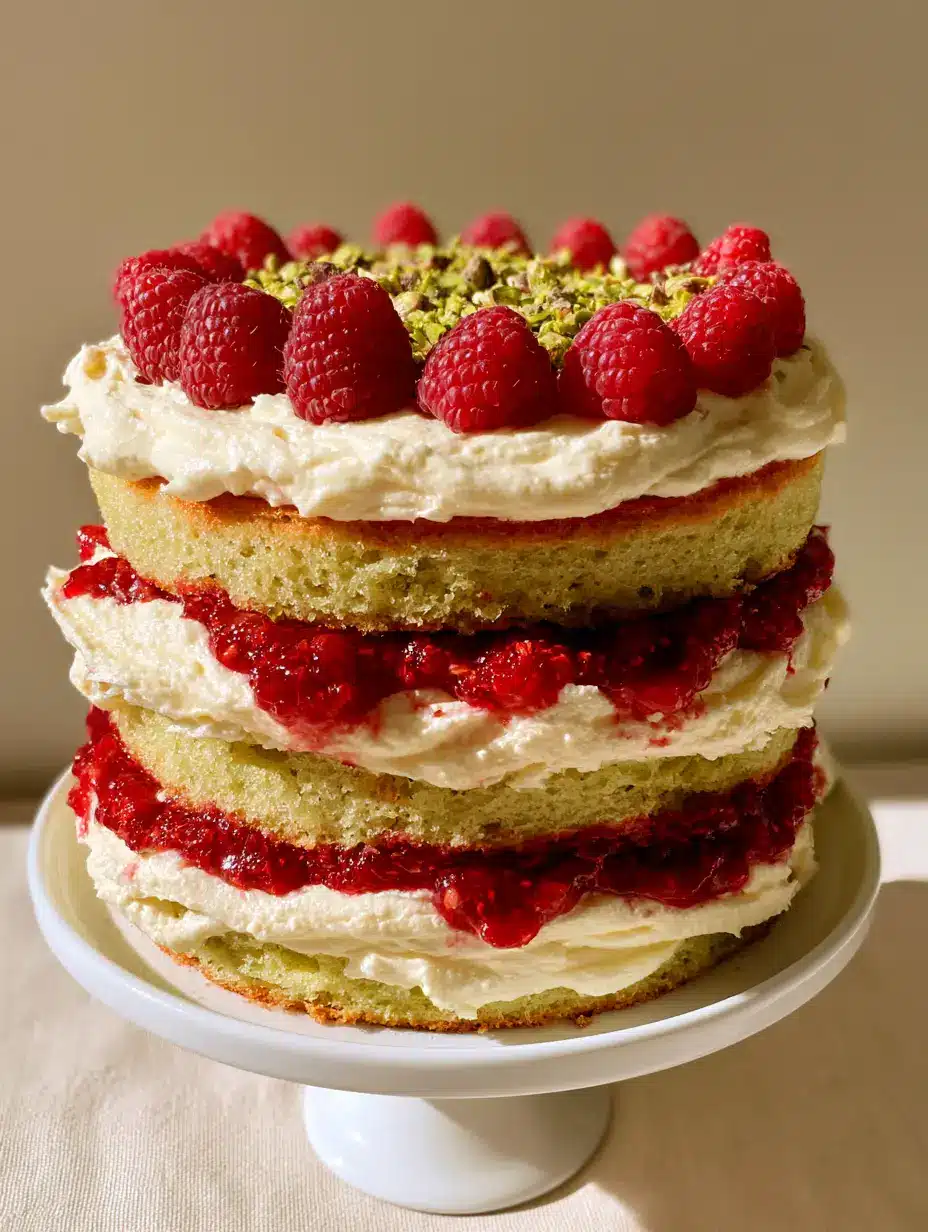
Pistachio Raspberry Layer Cake with Whipped Cream Frosting
Ingredients
Equipment
Instructions
- Pulse 1 cup of pistachios in a food processor until they form a fine meal. Mix with cake flour, baking powder, and salt.
- Cream butter and sugar, add eggs, and alternate adding dry ingredients and sour cream. Bake at 350°F (175°C) for 30 minutes.
- Slice each cake into two layers. Stack with a ring of whipped frosting, a center of raspberry jam, and repeat.
- Frost the exterior smooth. Add a border of whole raspberries and a center dusting of the remaining crushed pistachios.
Notes
Level your cakes with a serrated knife for a stable four-layer stack.
Join the Table!
We hope this Pistachio Raspberry Layer Cake becomes a staple in your celebration repertoire. The combination of moist nut sponge and tart berries is truly timeless. If you make this recipe, please leave a comment below and share your results! Don’t forget to follow Jenna_Table on Pinterest for more visual recipe inspiration and decadent dessert ideas.