When you are craving a restaurant-quality meal but only have 20 minutes to spare, these Honey Garlic Chicken Breasts are the ultimate solution. This recipe isn’t just about speed; it’s about achieving that perfect architectural balance of a golden-brown, crispy exterior and a moist, tender interior that yields to the touch.
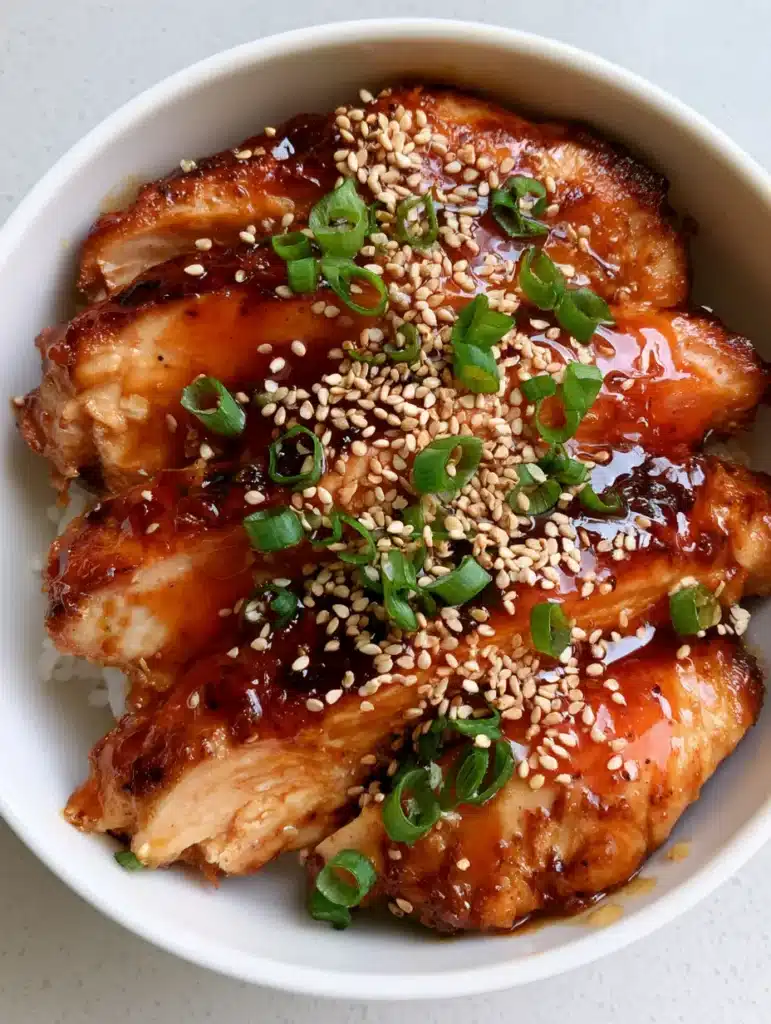
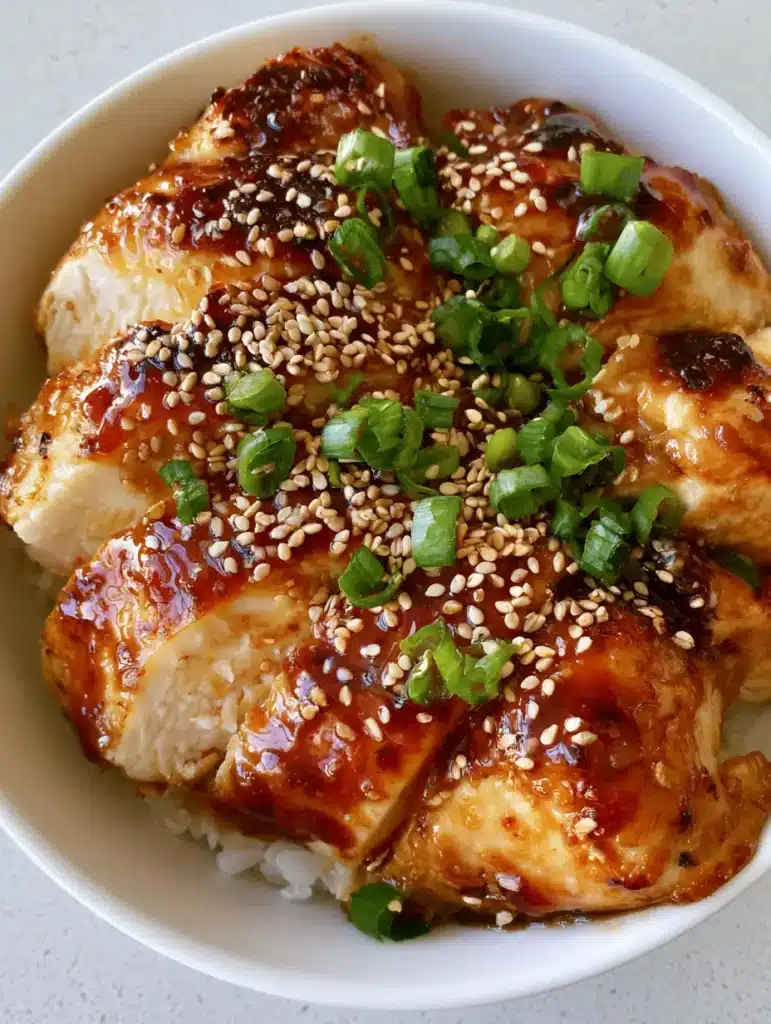
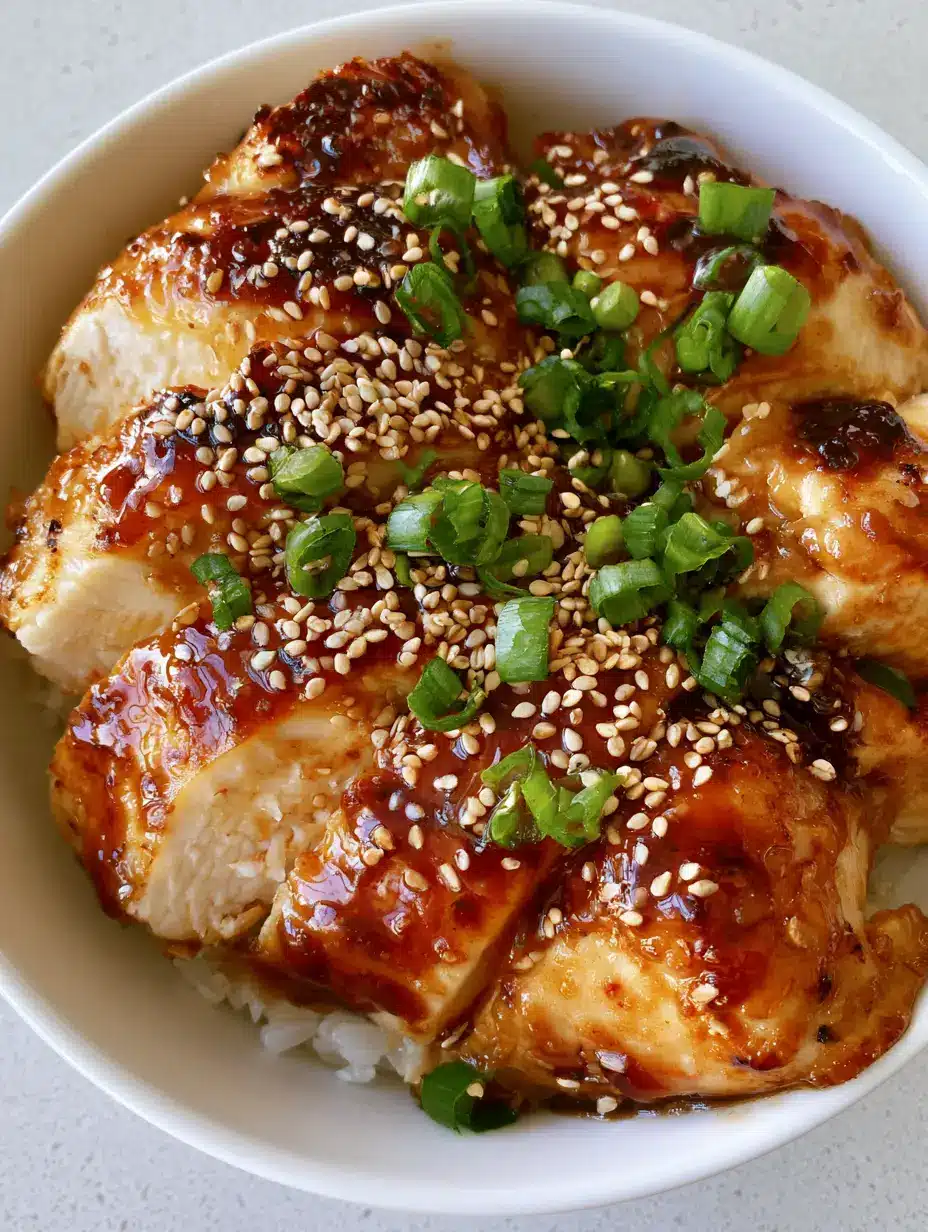
Imagine a handheld smartphone photo of your dinner tonight: sliced chicken pieces glistening under a translucent, glossy, dark amber honey garlic sauce. The sauce reflects the soft light of your kitchen, clinging to every curve of the meat, while vibrant green scallions and toasted white sesame seeds add the perfect pop of color and crunch.
Whether you are a seasoned home cook or just starting your culinary journey, this dish delivers on every sensory promise. From the rhythmic sizzle of the pan to the aromatic sweetness of caramelizing honey and pungent garlic, this is a recipe designed to impress both the palate and the camera lens.
Why These Sticky Glazed Chicken Breasts Outperform Every Other Weeknight Meal
- The Perfect Sear: We utilize a high-heat pan-searing technique to create a thick-cut, golden-brown crust that locks in every drop of moisture.
- The “Liquid Gold” Sauce: A balanced reduction of honey, soy, and garlic creates a dark amber glaze that is thick enough to coat a spoon—and your chicken—perfectly.
- Textural Contrast: Between the fluffy white rice base, the succulent chicken, and the toasted sesame seed crunch, every bite offers a new experience.
- Visual Brilliance: Designed to look like a high-quality food photography masterpiece, the vibrant green scallions provide a fresh contrast to the deep, rich tones of the sauce.
The Anatomy of Flavor: Ingredients and Scientific Substitutions
To achieve the result seen in professional culinary photography, every ingredient serves a dual purpose: flavor and physics. Here is what you will need for these Honey Garlic Chicken Breasts.
Chicken Breasts: Use 1.5 lbs (680g) of boneless, skinless breasts. Slicing them into thick, uniform pieces ensures even cooking and allows for maximum surface area for the glaze to adhere to.
Honey: You will need 1/2 cup (120ml) of high-quality liquid honey. This is the primary sweetener and the agent responsible for the “sticky” factor through sugar caramelization.
Garlic: 4 cloves (approx. 20g) of fresh minced garlic are essential. Fresh garlic provides a sharp, aromatic punch that jarred versions simply cannot replicate in a fast-reducing sauce.
Soy Sauce: 2 tbsp (30ml) of low-sodium soy sauce provides the “umami” and the salt required to balance the honey. This is also what gives our glaze that signature dark amber color.
Apple Cider Vinegar: 1 tbsp (15ml) provides the necessary acidity. Without this, the sauce would be cloyingly sweet; the acid cuts through the sugar to brighten the entire dish.
All-Purpose Flour: 1/4 cup (30g) for dredging. This invisible foundational ingredient creates the “crust” and helps thicken the sauce as it hits the pan.
Butter and Oil: 1 tbsp (15g) of butter and 1 tbsp (15ml) of high-smoke point oil. The oil prevents the butter from burning while the butter adds a rich, nutty flavor to the sear.
Toasted White Sesame Seeds: 1 tsp (5g) for garnish. Toasting them briefly releases essential oils that provide a nutty aroma and a professional finish.
Green Scallions: 2 stalks, finely sliced. These provide a “vibrant green” visual and a mild onion bite that freshens the heavy glaze.
White Rice: 2 cups (370g) of cooked long-grain white rice. This serves as the fluffy, neutral base that absorbs the extra translucent sauce.
Essential Culinary Tools for a Professional Finish
To replicate the golden-brown crust and moist interior described in our visual blueprint, you need the right heat conductors. A heavy-bottomed skillet, preferably cast iron or stainless steel, is the best tool for the job.
A sharp chef’s knife is also required to achieve those clean, “thick-cut” slices. Using a dull knife will tear the meat, causing it to lose juices and look ragged in your ceramic bowl. Lastly, a digital meat thermometer is your best friend to ensure the chicken reaches exactly 165°F (74°C) without overcooking.
Step-by-Step Instructions for the Perfect Honey Garlic Chicken
Preparing the Chicken for the Sear
Start by patting your chicken breasts dry with paper towels. This is a critical step; moisture is the enemy of a golden-brown crust. If the chicken is wet, it will steam instead of sear.
Season the chicken generously with salt and pepper, then dredge each piece in the flour. Shake off the excess until only a fine, translucent coating remains. This flour layer will become the “glue” for your Honey Garlic Chicken Breasts glaze.
Mastering the Maillard Reaction
Heat your oil and butter in the skillet over medium-high heat. Wait until the butter stops foaming and starts to smell slightly nutty. This is your sensory cue to add the chicken.
Place the chicken in the pan, ensuring they aren’t crowded. Sear for 4-5 minutes per side. You are looking for a deep, golden-brown crust. Do not move the chicken prematurely; let it develop that flavorful exterior that characterizes high-quality food photography.
Developing the Translucent Amber Glaze
Once the chicken is seared, reduce the heat to medium. Move the chicken to the sides of the pan and add the minced garlic to the center. Sauté for just 30 seconds until fragrant—do not let it brown too much or it will turn bitter.
Pour in the honey, soy sauce, and apple cider vinegar. As the liquid hits the hot pan, it will bubble vigorously. Use a wooden spoon to scrape up any browned bits from the bottom of the pan—this is pure flavor. Toss the chicken continuously in the liquid as it reduces into a thick, glossy, dark amber sauce.
Slicing and Garnishing for Visual Appeal
Remove the chicken from the pan and let it rest for 3 minutes. This allows the juices to redistribute, ensuring a “moist, tender interior.” Slice the chicken into thick strips against the grain.
Place a portion of fluffy white rice into a simple ceramic bowl. Arrange the sliced chicken on top. Pour the remaining warm glaze from the pan directly over the chicken pieces. Finish with a generous sprinkle of toasted sesame seeds and sliced scallions.
Expert Tips for Success
- Don’t Overcrowd the Pan: If you put too much chicken in at once, the pan temperature will drop, and you’ll lose that crispy crust. Cook in batches if necessary.
- The Gloss Factor: If your sauce is too thin, let it simmer for an extra minute. If it becomes too thick or “tacky,” add a teaspoon of water to loosen it back to a translucent state.
- Rice Texture: For the fluffiest rice, rinse it under cold water until the water runs clear before cooking to remove excess starch.
- Balanced Heat: If you enjoy a bit of spice, you might consider swirling in a bit of garlic hot honey sauce for a modern twist on this classic.
The Best Pairings for Your Sticky Chicken
While this dish is a complete meal with rice, you can elevate the experience with complementary sides. A side of hot honey roasted carrots provides a lovely sweetness that mirrors the glaze.
If you’re looking for more chicken inspiration, our garlic herb chicken breast is a fantastic alternative for meal prep. For those who love the combination of sweet and savory, these salted honey cookies make the perfect dessert to follow this meal.
Leftover chicken can also be transformed! Try shredding it for a chicken avocado melt the next day for a quick and easy lunch.
Storage and Reheating Guidelines
This recipe stores beautifully, making it a favorite for meal preppers. Place leftovers in an airtight container in the refrigerator for up to 4 days.
To reheat, avoid the microwave if possible, as it can make the chicken rubbery. Instead, place the chicken and sauce in a small skillet over low heat with a splash of water. Cover and simmer until warmed through to maintain that moist interior.
Frequently Asked Questions
Yes, this recipe is perfect for meal prep. The glaze stays glossy even after refrigeration. Reheat gently with a teaspoon of water to restore the sauce’s translucent texture.
Absolutely! Chicken thighs are more forgiving and remain very juicy. You will need to increase the sear time by about 2-3 minutes per side as they have a higher fat content.
The key is high-heat searing to create a crust followed by using a meat thermometer. Pull the chicken when it hits 165°F (74°C) and let it rest for 3 minutes so the juices can redistribute.
Yes, you can use rice vinegar or white wine vinegar. The goal is to provide acidity to balance the sugar in the honey, so any mild vinegar or even lemon juice will work.
The sauce thickens as the water in the honey and vinegar evaporates. Increase the heat slightly and let it bubble; the flour from the chicken will also help emulsify the glaze into a thick coating.
The Ultimate Honey Garlic Chicken Recipe
Honey Garlic Chicken Breasts: The Ultimate 15-Minute Sticky Glazed Dinner
Ingredients
Equipment
Instructions
- Pat chicken breasts dry. Season with salt and pepper, then coat in flour, shaking off excess for a thin, even layer.
- Heat oil and butter in a skillet over medium-high. Sear chicken for 4-5 minutes per side until a golden-brown crust forms and interior is cooked through.
- Lower heat to medium. Add garlic for 30 seconds. Pour in honey, soy sauce, and vinegar. Simmer and toss chicken until sauce is a dark amber, translucent glaze.
- Slice chicken into thick pieces. Serve over fluffy white rice, pouring extra sauce over the top. Garnish with sesame seeds and scallions.
Notes
Rest the chicken for 3 minutes before slicing to keep it moist.
Closing & Call to Action
These Honey Garlic Chicken Breasts prove that you don’t need hours in the kitchen to create a meal that looks and tastes like a masterpiece. The combination of the sticky dark amber glaze and the tender chicken is a crowd-pleaser that will earn a permanent spot in your weekly rotation.
Did you make this recipe? I would love to see your results! Leave a comment below and let me know how your glaze turned out. Don’t forget to follow me on Pinterest and share your beautiful food photos with our community!